

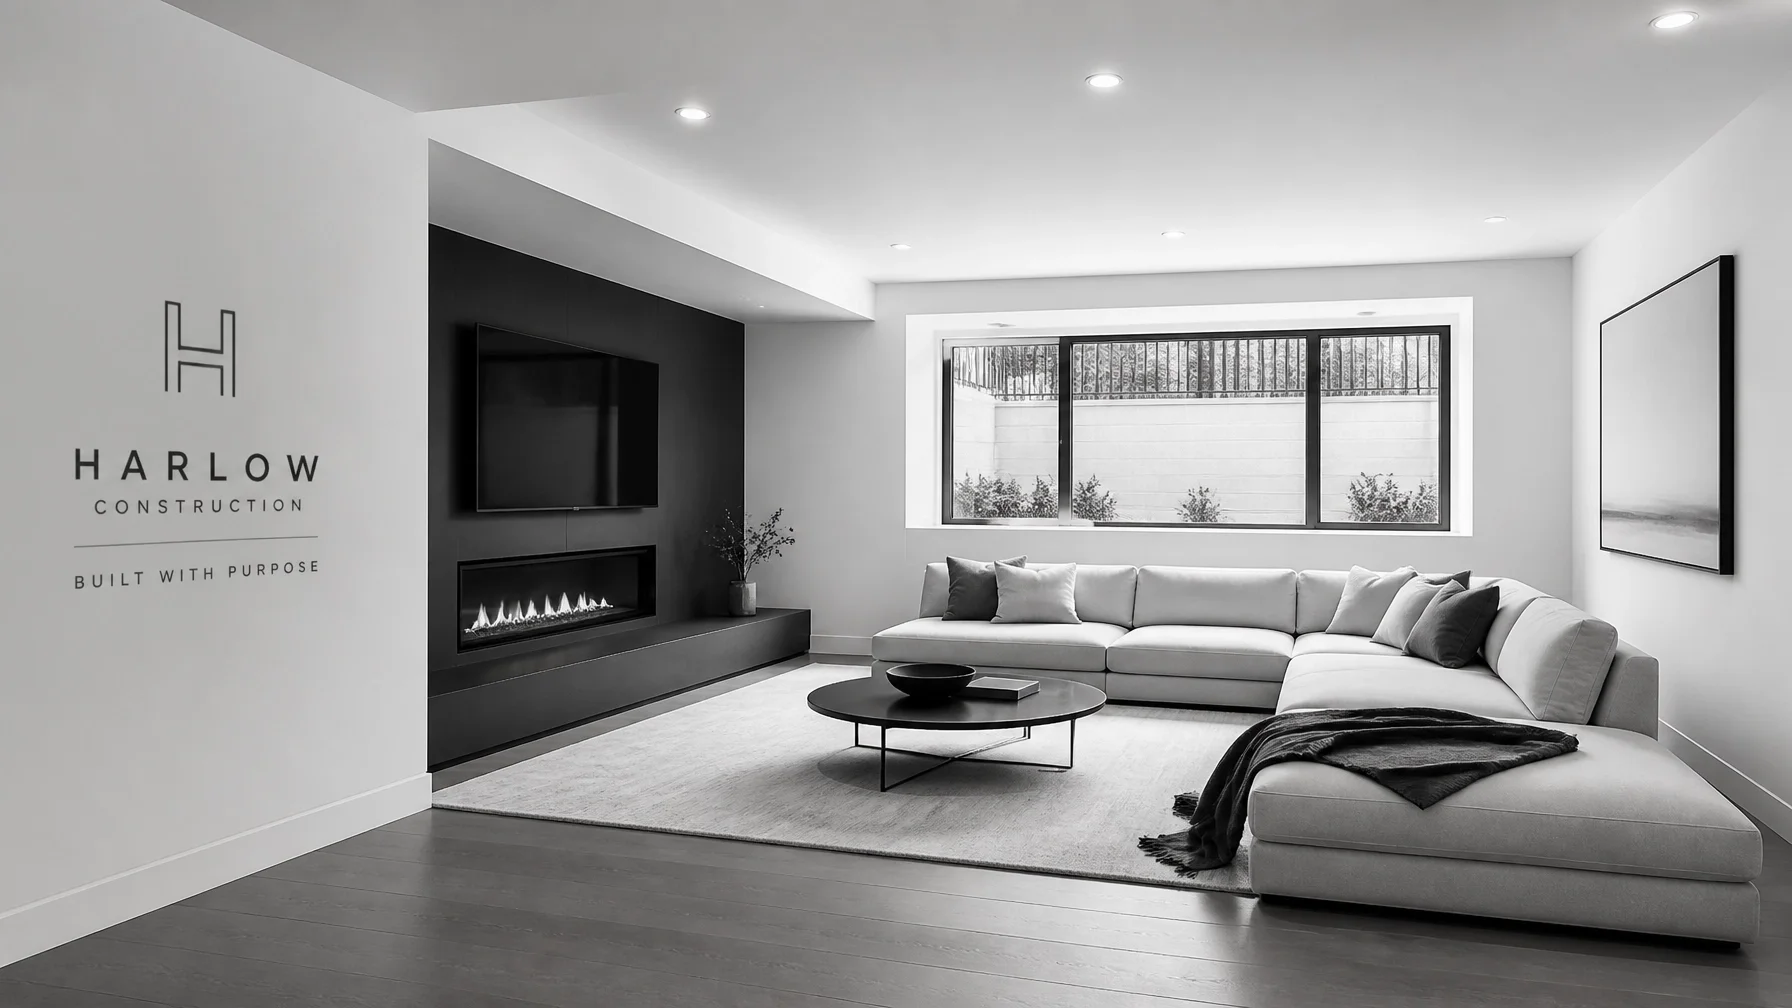
Pro Tips & Projects
Smart fixes. Real projects. Straight talk from your local pros.
Keeping a home running smoothly is a full-time job — and most people don’t have the time, the tools, or the patience to figure it all out. That’s where we come in.
Welcome to your go-to hub for expert tips, real project breakdowns, money-saving strategies, and homeowner how-tos — all written in clear, real-world language, never contractor-speak.
Whether you’re trying to stay ahead of problems, plan a remodel, or avoid getting ripped off, you’ll find exactly what you need right here… from pros who do this every day.
No fluff. No guesswork. Just straight-up help you can use.
What You’ll Find Here:
Pro Tips to extend the life of your home
DIY-Friendly Fixes anyone can handle safely
Project Breakdowns from real jobs we've completed
Money-Saving Advice to avoid costly mistakes
Before & After Transformations to spark ideas
Seasonal Checklists to keep your home in top shape
Need Personalized Advice?
If you ever want help with a repair, a renovation idea, or just a second opinion, we’re only a message away.
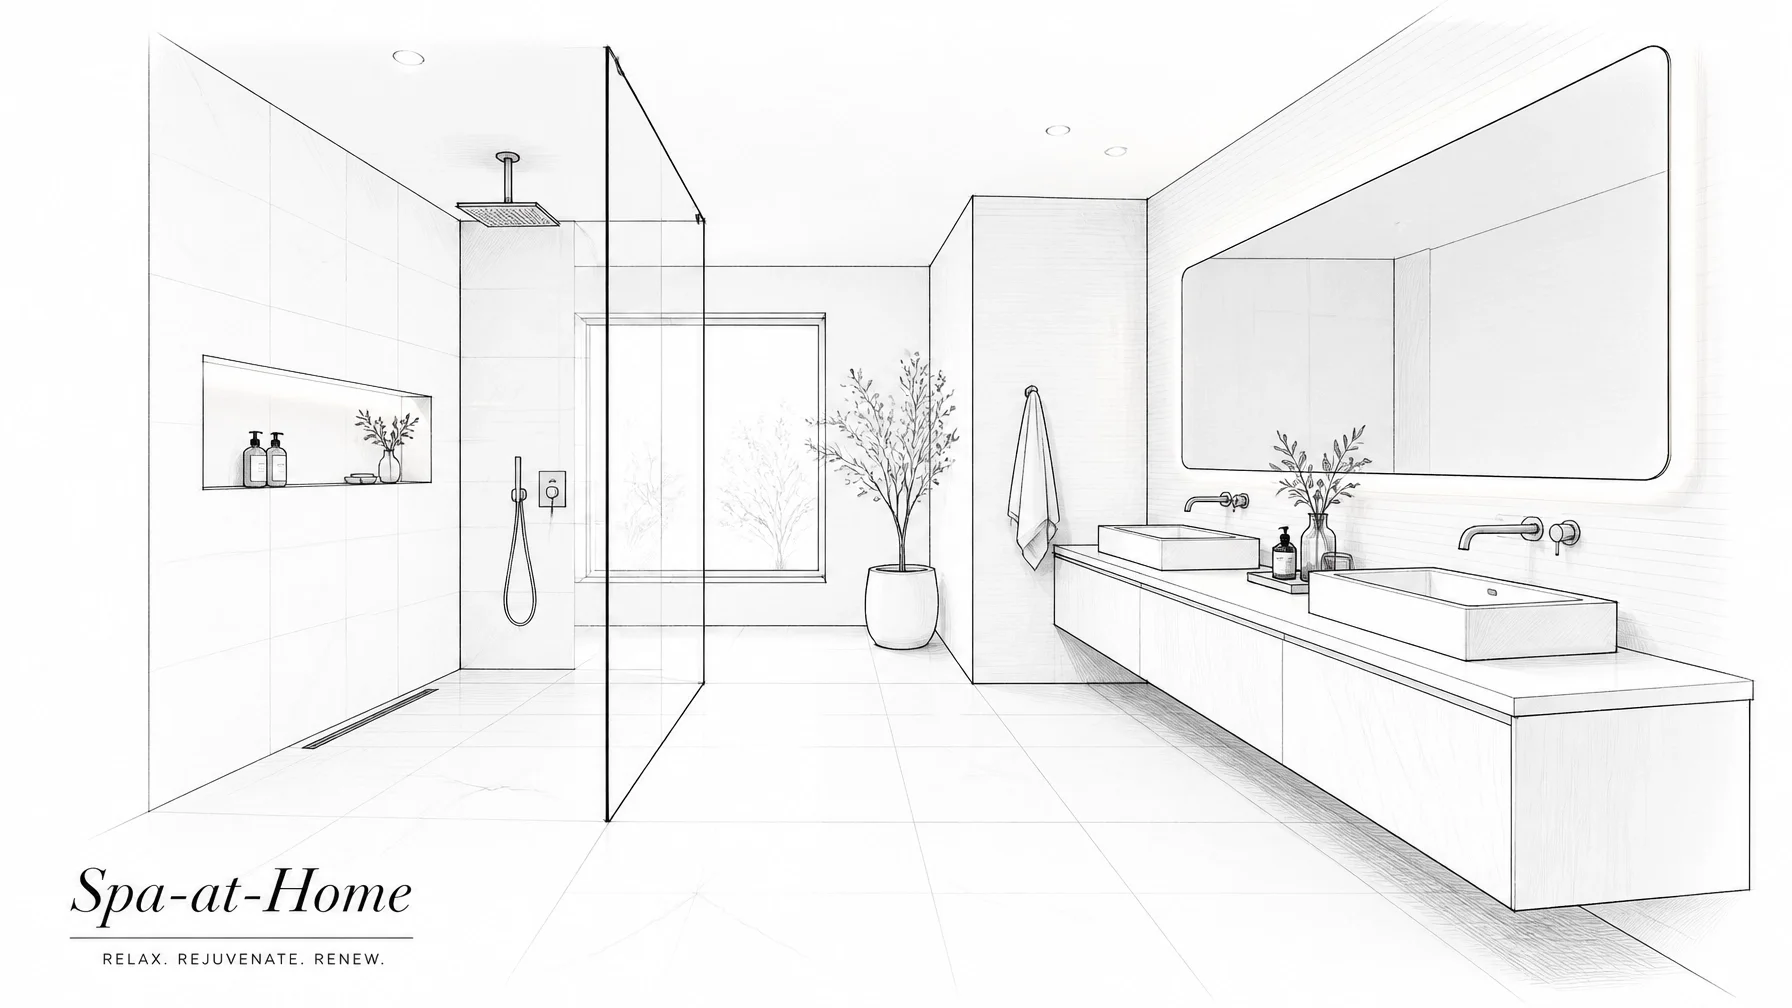
2026 Home Remodeling: The Complete Guide – Part 3: Bathrooms That Pay Off (Turning a Cramped Bath Into a Spa-at-Home)
Ready to turn your cramped bathroom into a spa-at-home? In Part 3 of our 2026 Remodeling Guide, Mike Sansing of Your Handyman Pros breaks down the 2026 bathroom trends that actually pay off — curbless walk-in showers, floating vanities, smart mirrors, heated floors, and proper ventilation. Plus what to splurge on vs save on for the best ROI in the Salt Lake Valley. Whether you're updating a historic home in The Avenues or a modern build in Herriman, this one's for you.
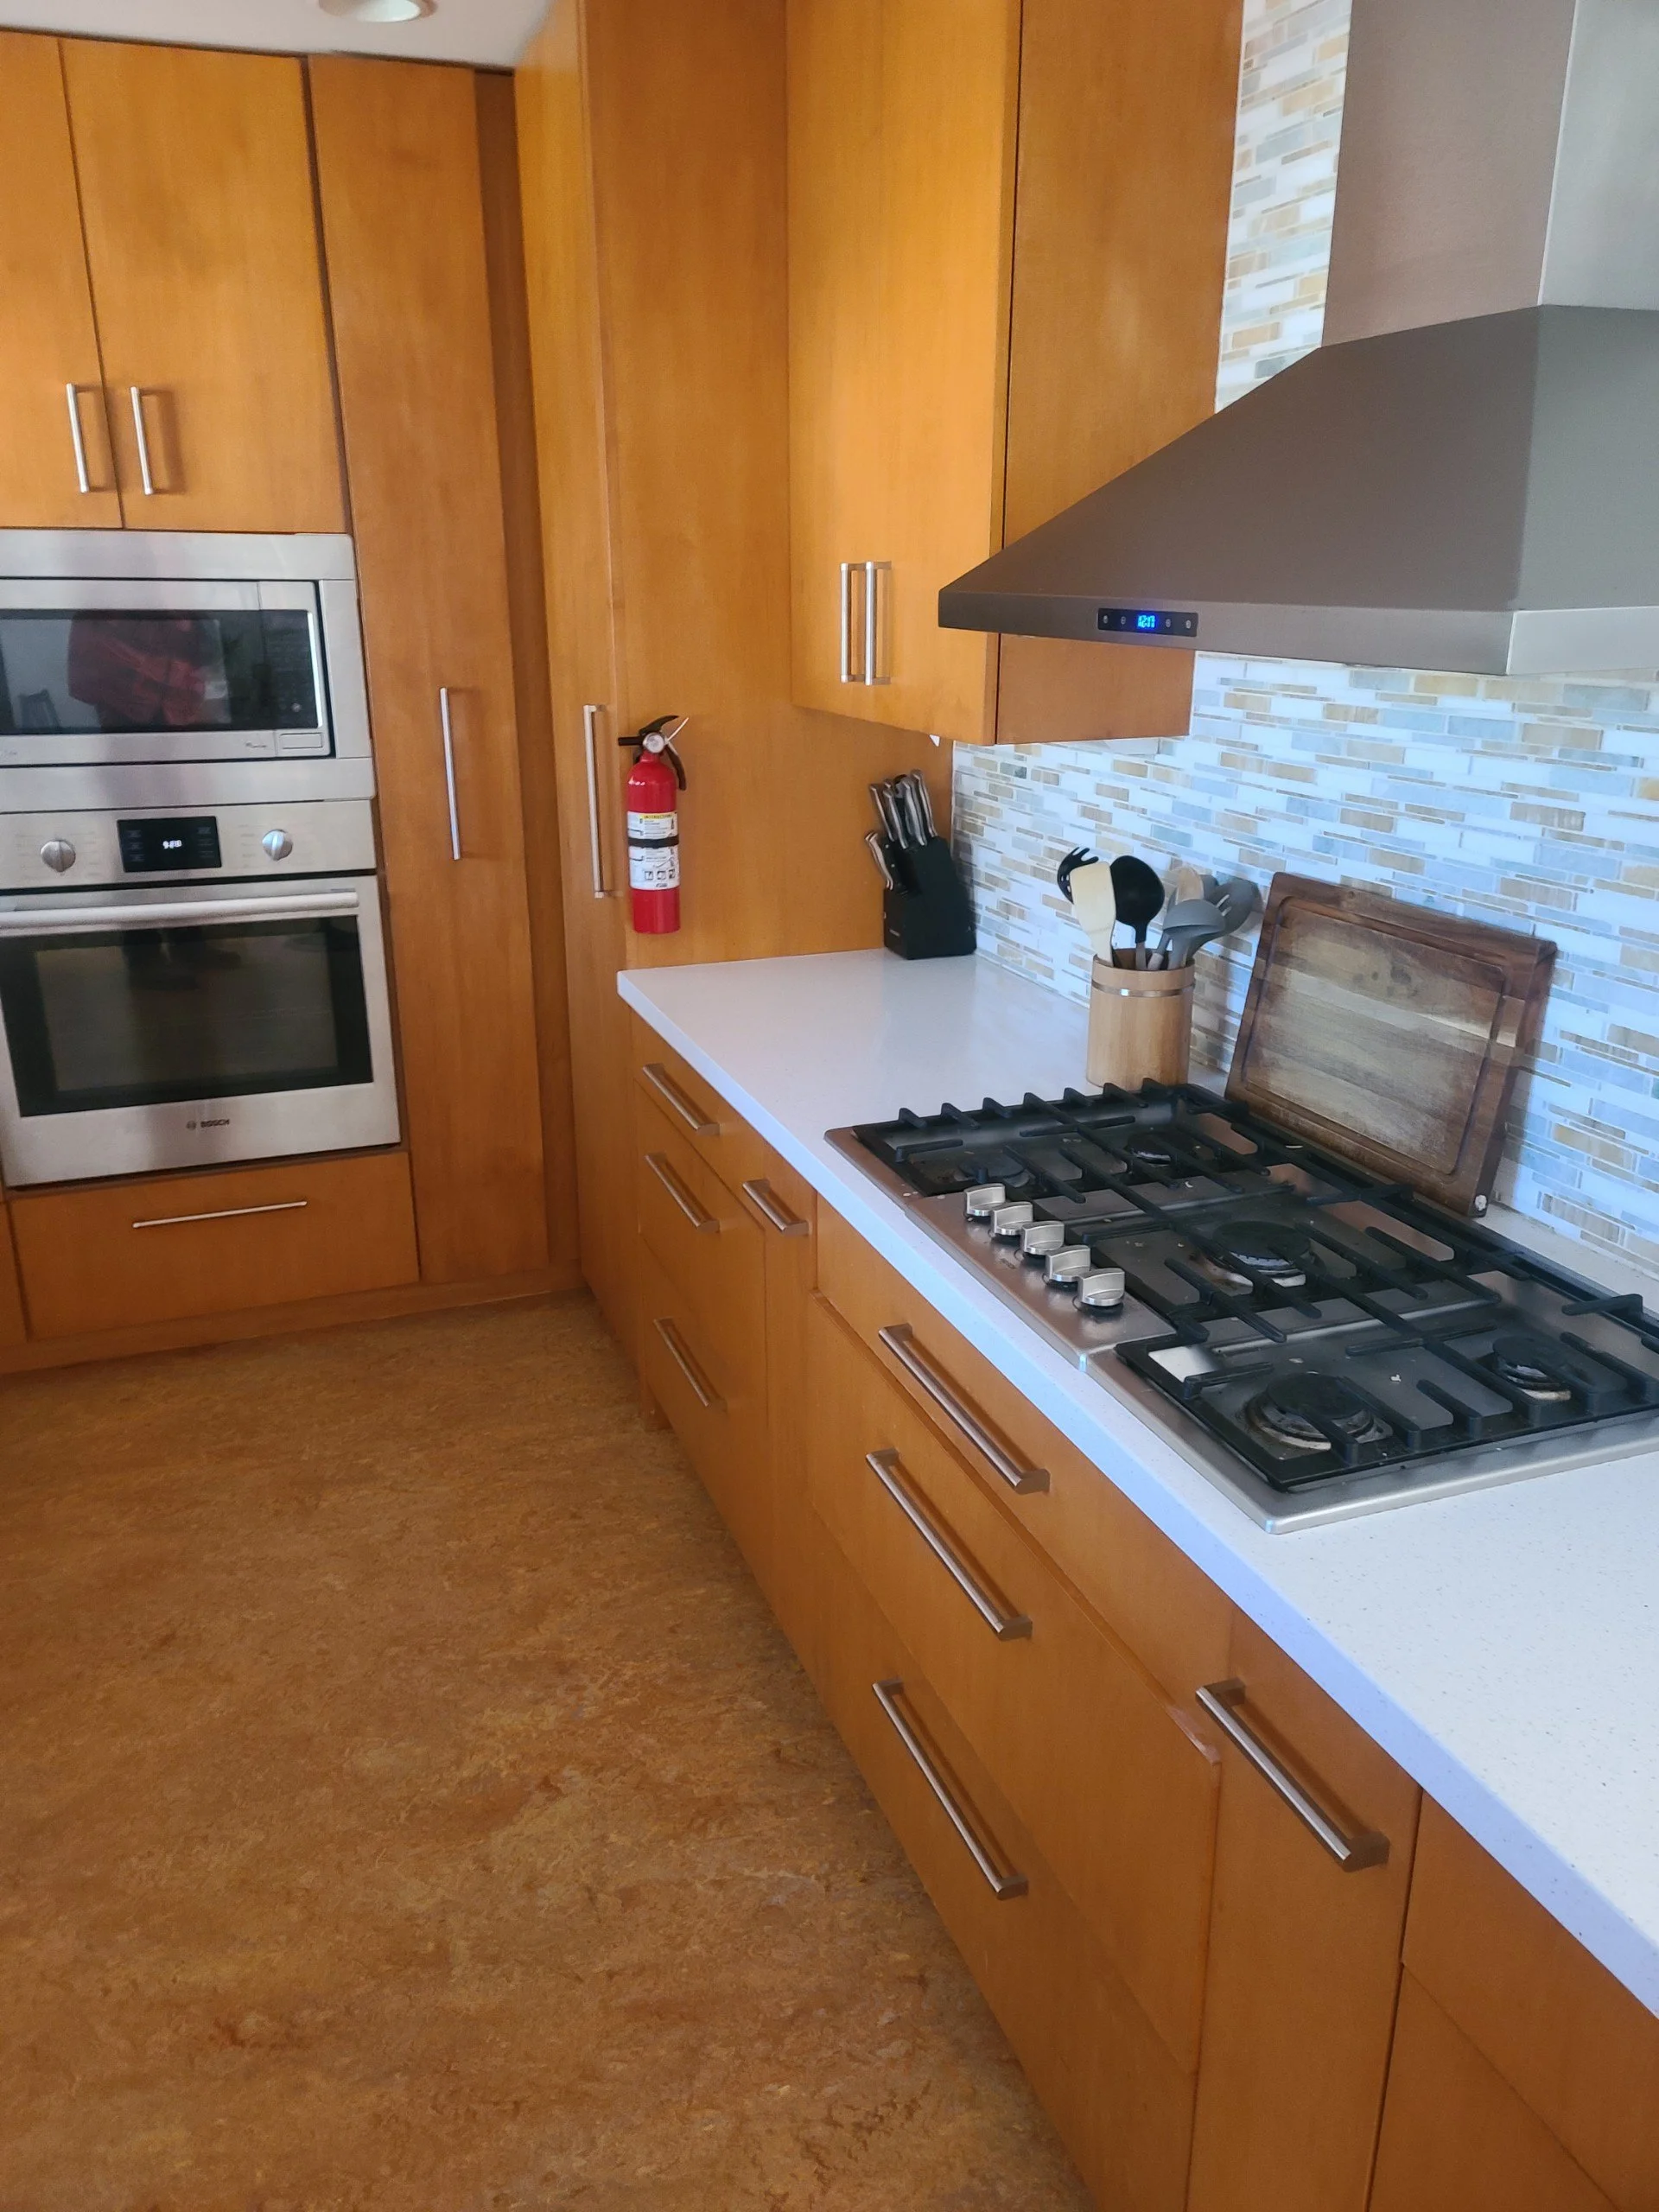
2026 Home Remodeling: The Complete Guide – Part 2: Kitchens That Sell (And That You'll Actually Love Cooking In)
The kitchen is the heart of the home — and the #1 room that makes or breaks a home sale. In Part 2 of our 2026 Remodeling Guide, Mike Sansing of Your Handyman Pros breaks down the 2026 kitchen trends that actually hold value: cabinet refacing vs full replacement, countertop ROI (quartz still king), layered lighting, layout principles, and the surprising stat that minor refreshes are outperforming full gut remodels in the Salt Lake Valley. Whether you're in Sugar House or Herriman, here's how to spend your money where it counts.

2026 Home Remodeling: The Complete Guide – Part 1: Where to Start (Budget, Timeline & Permits)
Dreaming of a big remodel in 2026 but don't know where to start? In Part 1 of our new series, Mike Sansing of Your Handyman Pros walks you through the five essential steps — defining your project scope, setting a realistic 2026 budget with a 20% contingency, navigating Salt Lake Valley permit timelines, and why hiring a licensed B100 GC first saves you money. Whether you're in Sandy, Herriman, or West Valley, this is the foundation you need before the first hammer swings.
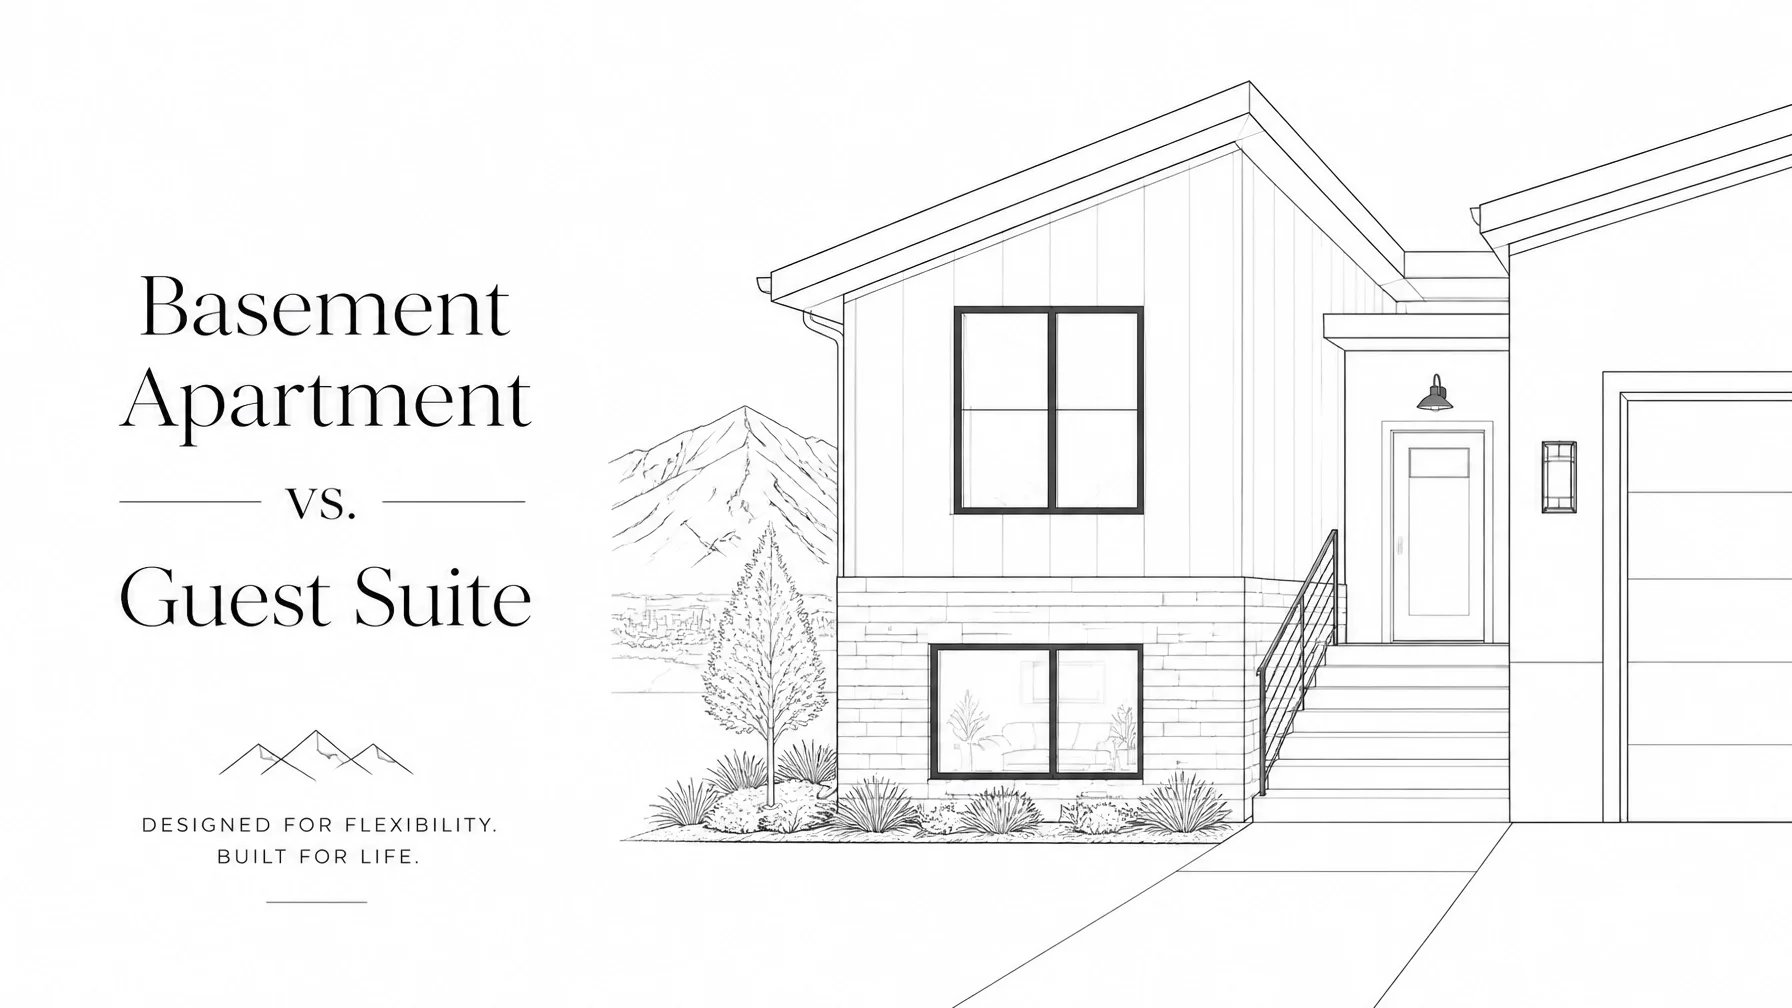
The Complete Basement Apartment vs. Guest Suite Series: Your One-Stop Recap for Salt Lake Homeowners
Five parts. One complete guide. Whether you're shopping for rental income or a guest suite for mom, we've got the whole basement apartment vs. guest suite series wrapped up in one place. Mike Sansing of Your Handyman Pros walks you through zoning, costs, design, and the final pre-construction checklist — all tailored for Salt Lake Valley homeowners. Not sure where to start? This recap points you to the right post for your situation.
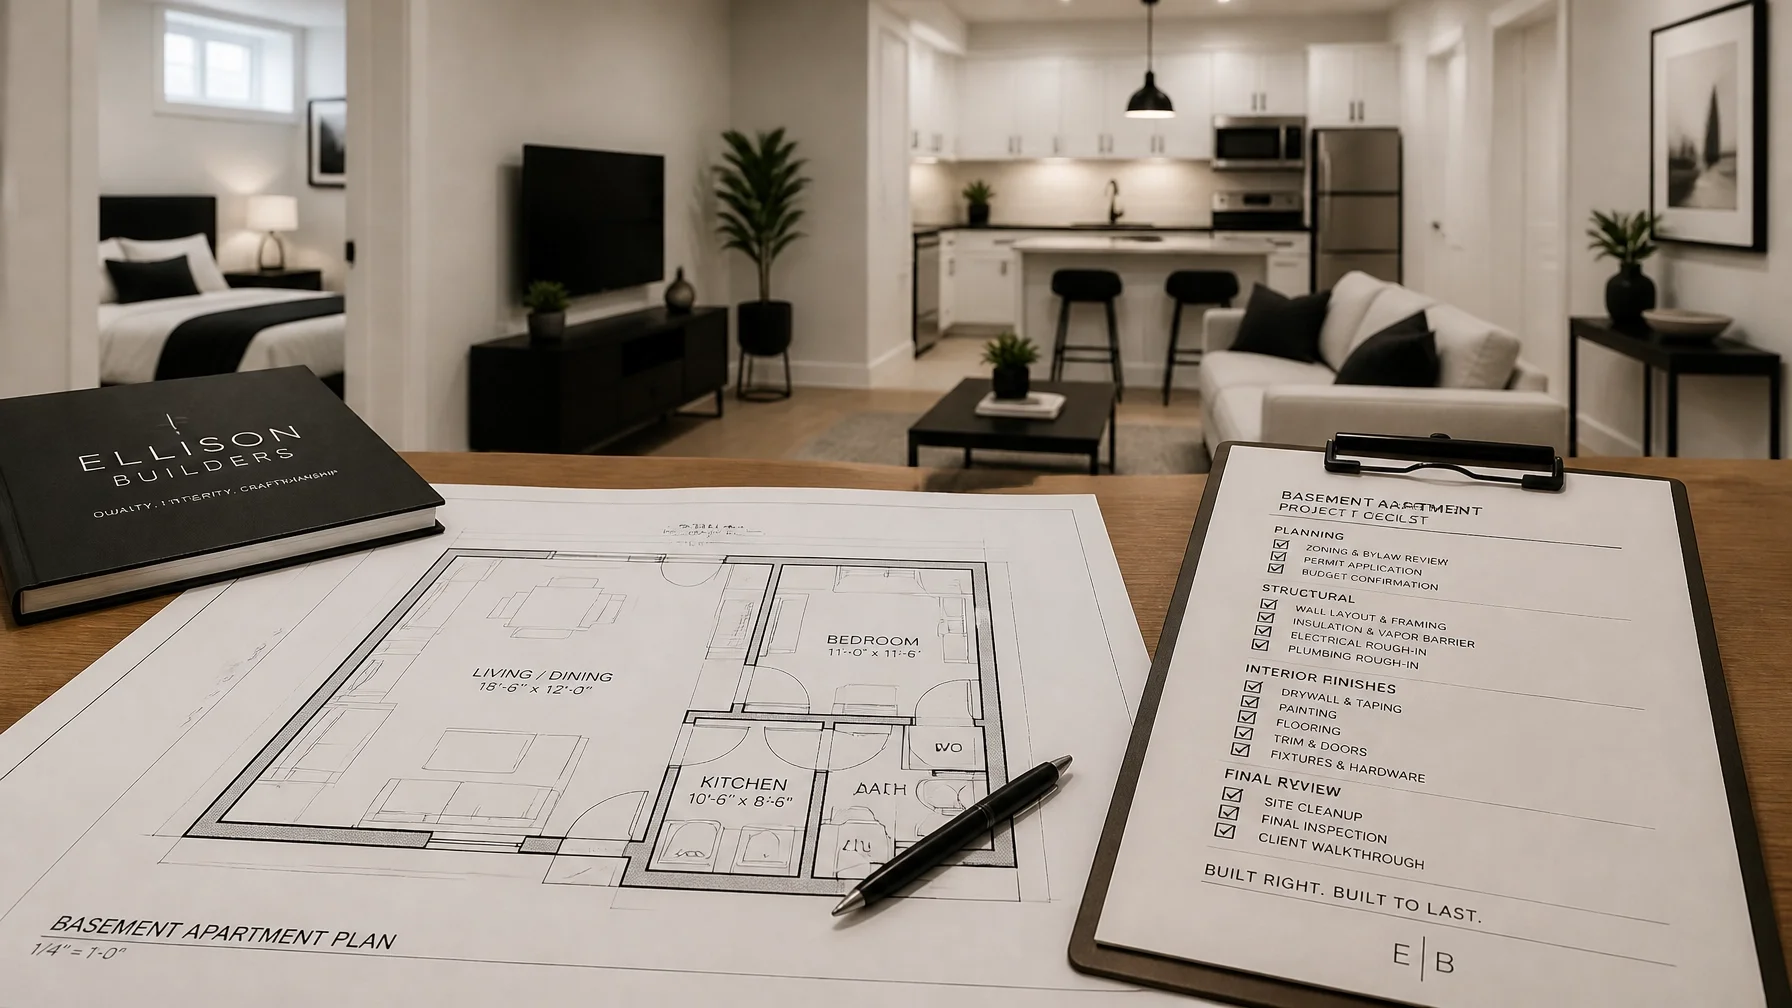
Basement Apartment vs. Guest Suite: Which Is Better For Your Salt Lake Home? – Part 5: Your Ultimate Pre-Construction Checklist & Final Verdict
After four parts covering everything from zoning to costs to design, we're wrapping up the series with the definitive guide to crossing the finish line. Mike Sansing of Your Handyman Pros delivers a 6-step pre-construction checklist — covering budget, site audits, permits, and hiring the right team — plus the final verdict on whether a basement apartment or guest suite wins based on your goals. Ready to break ground in the Salt Lake Valley? Here's exactly how to start.
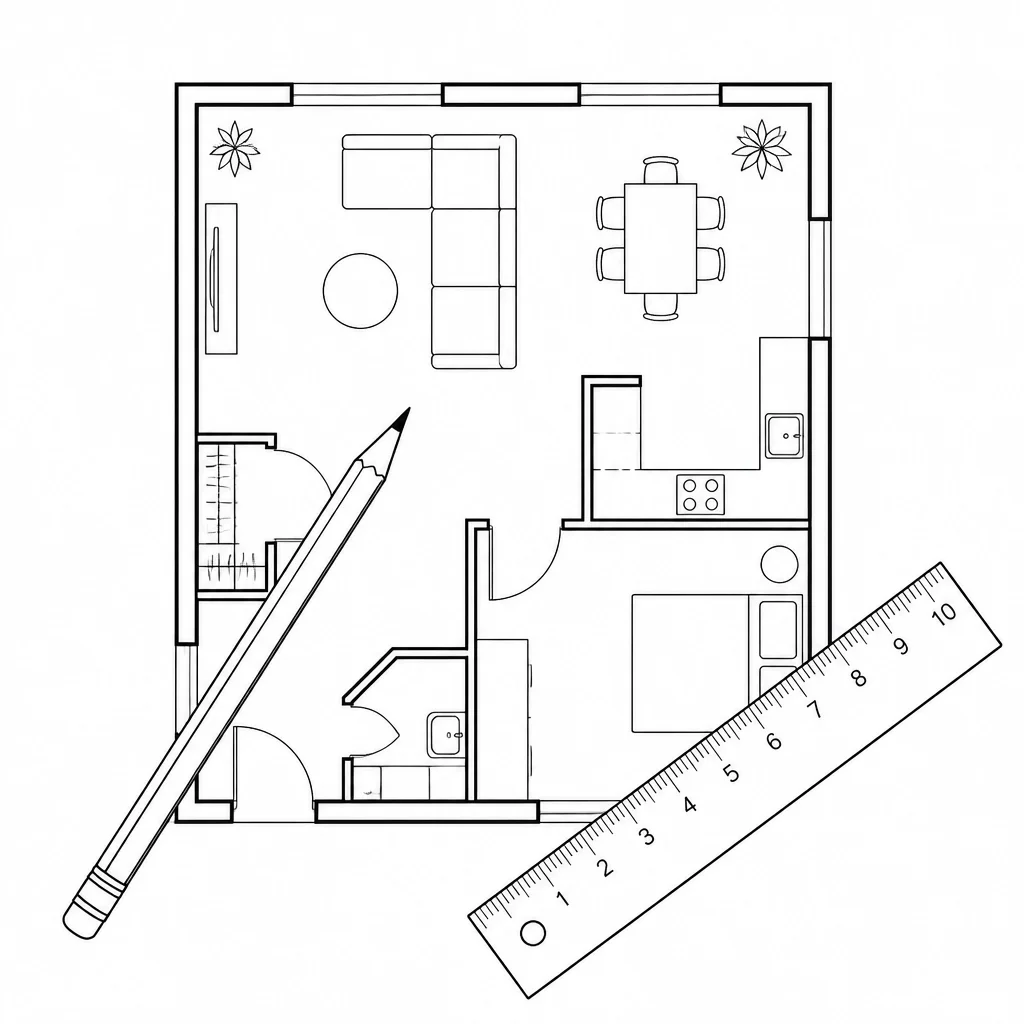
Basement Apartment vs. Guest Suite: Which Is Better For Your Salt Lake Home? – Part 4: Layouts & Design Tricks to Make It Feel Like a Luxury Suite
Ready to turn your basement into a luxury suite but not sure where to start with the layout? In Part 4 of our series, Mike Sansing of Your Handyman Pros shares design tricks that make a basement feel like a boutique hotel — open floor plans, light illusions, soundproofing, curbless showers, heated floors, and smart storage. Whether you're building an IADU in West Valley or a guest suite in Sandy, these tips will take your space from dungeon to dream.

Basement Apartment vs. Guest Suite: Which Is Better For Your Salt Lake Home? – Part 3: What's It Actually Going to Cost You in 2026?
Worried about how much a basement apartment or guest suite will set you back in 2026? In Part 3 of our series, Mike Sansing of Your Handyman Pros breaks down the real costs for Salt Lake Valley homeowners — from $40k–$80k+ for a legal IADU to $15k–$35k for a simple guest suite. Plus hidden city fees, financing options, and what kind of ROI you can actually expect in Herriman, Sandy, Riverton, and beyond.

Basement Apartment vs. Guest Suite: Which Is Better For Your Salt Lake Home? – Part 2: 2026 Zoning Rules & Permits Decoded
Part 2 of our series breaks down Utah's 2026 zoning laws (HB 82) and the permit process for basement apartments and guest suites in the Salt Lake Valley. Whether you're in Herriman, Sandy, Riverton, or West Valley City, learn what's legal, what's required, and how to navigate city-specific rules like parking and owner-occupancy with confidence.
Basement Apartment vs. Guest Suite: Which Is Better For Your Salt Lake Home? – Part 1: The Big Picture Breakdown
Basement Apartment vs. Guest Suite: Which Is Better For Your Salt Lake Home? – Part 1: The Big Picture Breakdown
Thinking about finishing your basement? Before you start shopping for tile, there's a big question you need to answer — are you building a basement apartment or a guest suite? They might sound like the same thing, but legally and functionally, they're worlds apart. In Part 1 of our new 5-part series, I break down the difference between an Internal ADU (rental) and a guest suite (family use), why your city's zoning rules actually matter, and how to pick the right path for your home in Herriman, Sandy, or West Valley City. 🏠🔨

Don't Let a Burst Pipe Ruin Your Vacation: Smart Water Tech Every Utah Homeowner Needs in 2026
Don't Let a Burst Pipe Ruin Your Vacation: Smart Water Tech Every Utah Homeowner Needs in 2026
That "vacation dread" is real — but it doesn't have to be. With Utah's wild temperature swings and famously hard water, our pipes work harder than most. In this post, I break down how smart water shut-off valves and leak detectors can save your subfloors, stop catastrophic floods before they start, and ping your phone the second something's off — whether you're in Herriman or halfway across the world. The best part? It's a lot more affordable than a $50,000 insurance claim. 🏠💧

Do You Really Need to Bring Your Whole House Up to Code? The Truth About 2026 Utah Remodels
Worried about Utah's 2026 building codes ruining your remodel plans? If you're a homeowner in the Salt Lake Valley, you've probably heard the rumors — touch one wire and you'll have to rewire the whole house. I'm Michael Sansing, owner of Your Handyman Pros, and I'm here to tell you: take a deep breath. Let's clear up what actually needs to be up to code and what doesn't.
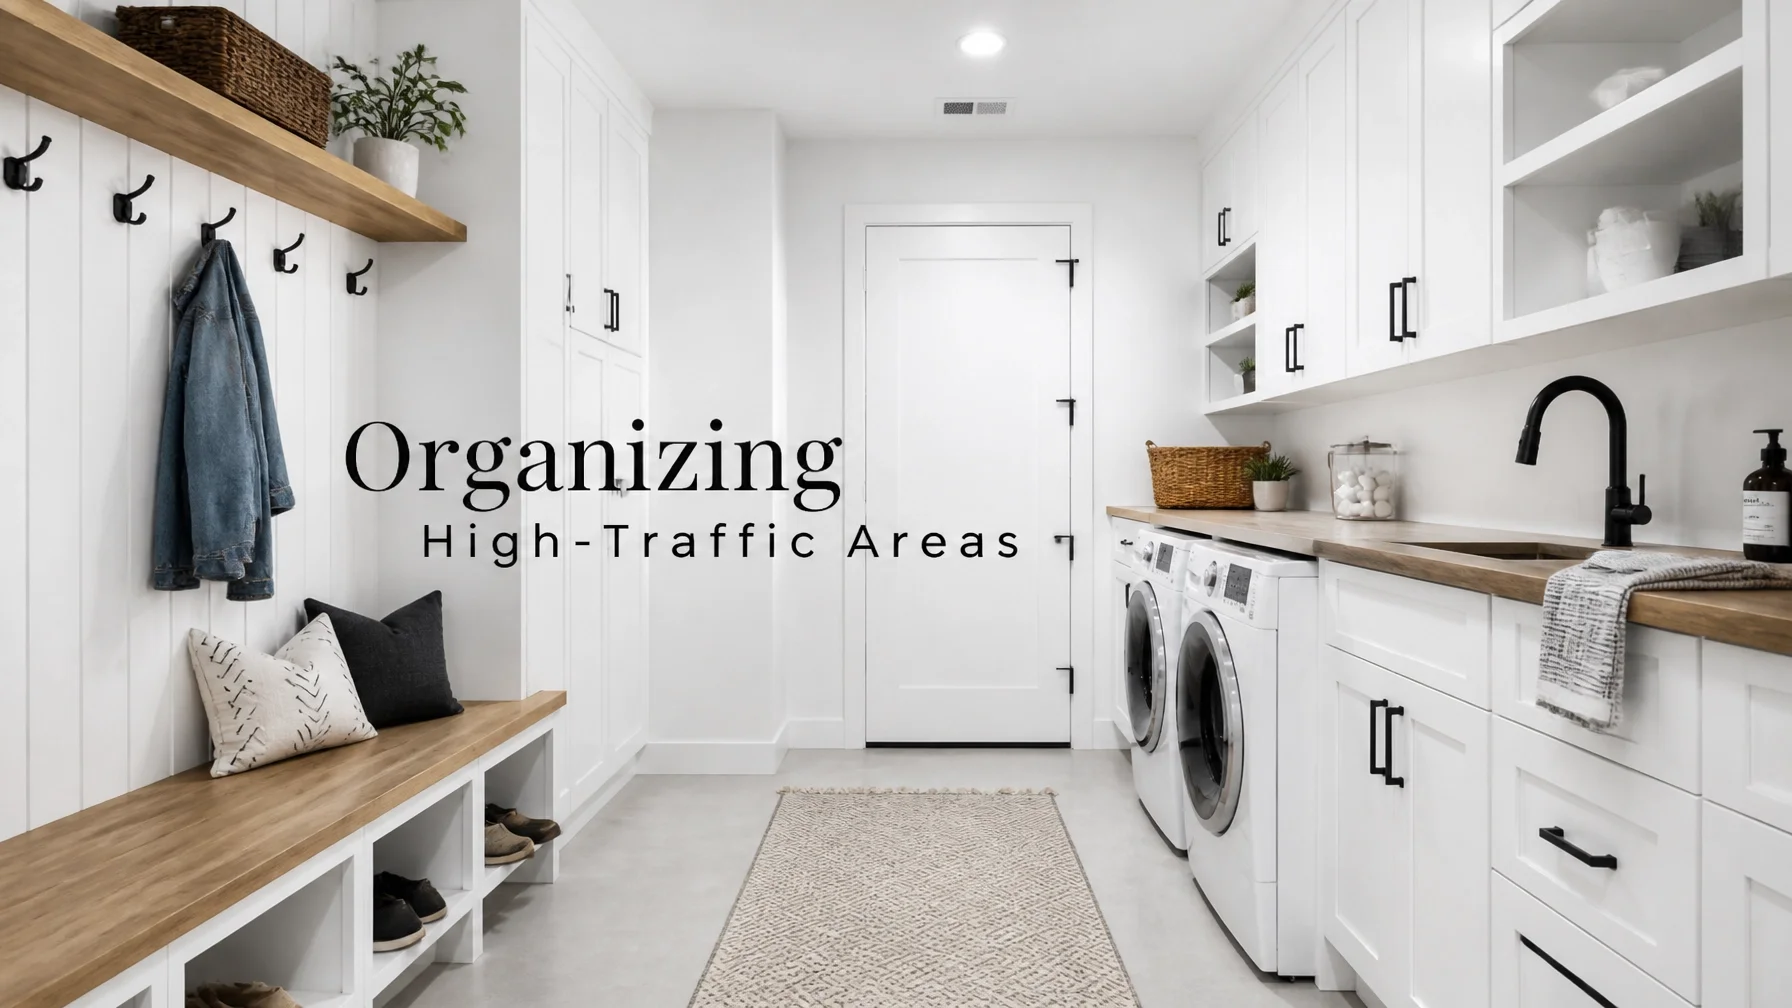
Simple Improvements That Make Homes Feel More Organized - Part 2: Organizing High-Traffic Areas
Simple Improvements That Make Homes Feel More Organized - Part 2: Organizing High-Traffic Areas
In Part 1, we looked at creating better entryways. Today, we're focusing on some of the busiest areas in the home: laundry rooms, mudrooms, and hall closets.
These spaces handle a lot of daily activity, which means they can quickly become cluttered without a simple organizational system.
1. Make the Laundry Room More Functional
Laundry rooms work best when everything has a designated place.
What to Look For
Shelving above appliances
Counter space for folding clothes
Storage bins for supplies
Wall-mounted drying racks
Why It Matters
A well-organized laundry room can make routine chores easier and help reduce clutter throughout the home.
2. Create Zones in the Mudroom
Mudrooms help contain the items that enter and leave the house every day.
What to Look For
Hooks for coats and backpacks
Benches with built-in storage
Cubbies for seasonal items
Boot trays for wet footwear
Why It Matters
Dedicated storage areas help keep shoes, coats, and outdoor gear from spreading into the rest of the home.
3. Maximize Hall Closet Storage
Many hall closets have more storage potential than homeowners realize.
What to Look For
Adjustable shelving
Storage bins and baskets
Door-mounted organizers
Improved lighting
Why It Matters
Making better use of vertical space can help keep frequently used items organized and easy to find.
The Takeaway
Organization isn't about having more space. It's about making better use of the space you already have.
By improving laundry rooms, mudrooms, and hall closets, homeowners can reduce clutter and make everyday routines feel a little easier.
Stay tuned for Part 3, where we'll look at storage solutions that actually get used and why convenience matters just as much as capacity.
At Your Handyman Pros, we help homeowners throughout the Salt Lake Valley improve comfort, functionality, and everyday living. We are a licensed and insured B100 General Contractor and coordinate with individually licensed and insured specialty trades when needed.
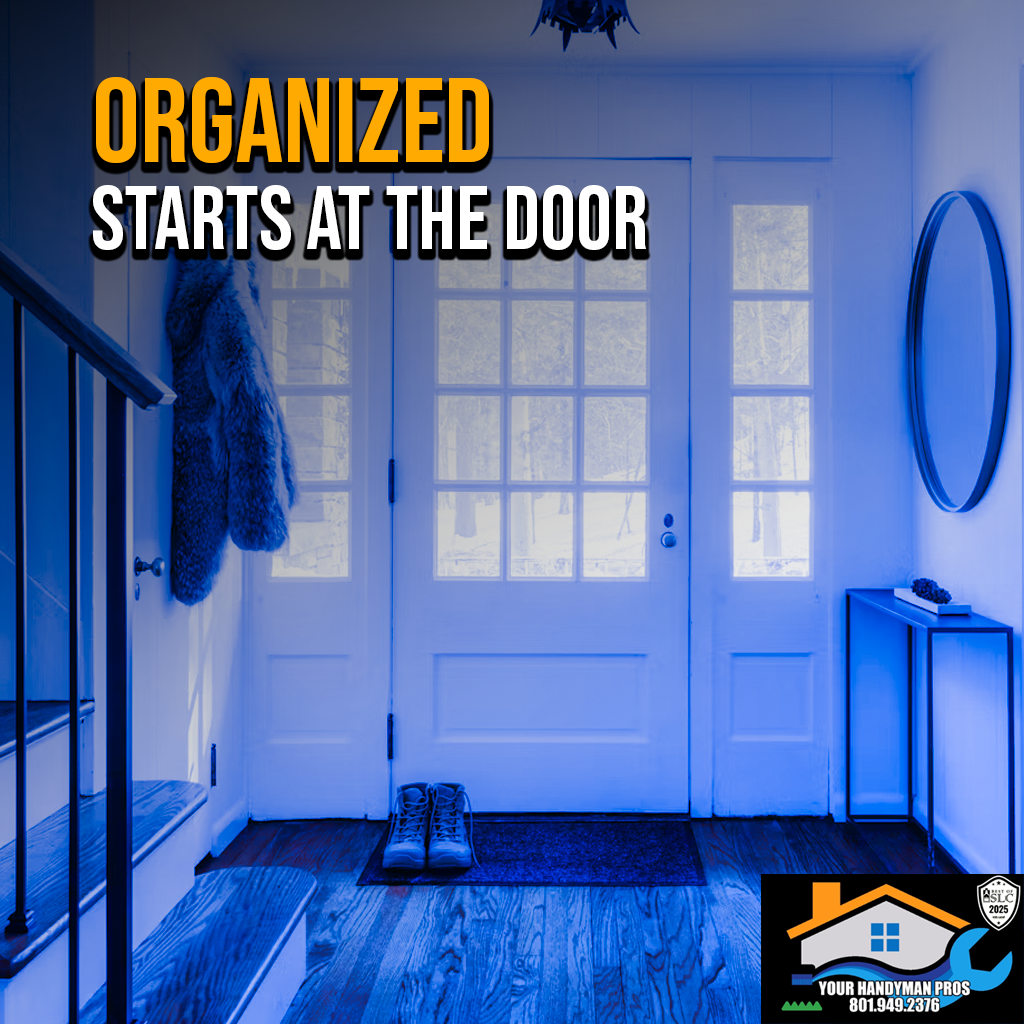
Simple Improvements That Make Homes Feel More Organized - Part 1: Creating Better Entryways
Simple Improvements That Make Homes Feel More Organized - Part 1: Creating Better Entryways
A well-organized home often starts at the front door.
The entryway is one of the busiest areas in any home. It's where shoes, bags, keys, and mail naturally collect. Without a system in place, clutter can quickly spread into the rest of the house.
This is Part 1 of our series, Simple Improvements That Make Homes Feel More Organized. Today, we're focusing on creating a more functional entryway.
1. Create a Drop Zone
One of the easiest ways to reduce clutter is giving everyday items a dedicated place to land.
What to Look For
A small shelf or console table
A tray for keys and wallets
A designated spot for mail
Why It Matters
When everyday items have a consistent home, they're easier to find and less likely to create clutter throughout the house.
2. Add Practical Shoe Storage
Shoes are one of the most common sources of entryway clutter.
What to Look For
Shoe cabinets
Storage benches
Boot trays for wet footwear
Cubbies for family members
Why It Matters
Keeping shoes organized helps reduce clutter while keeping dirt, moisture, and debris contained near the entry.
3. Use Wall Space
When floor space is limited, walls can provide valuable storage.
What to Look For
Hooks for coats and bags
Wall-mounted organizers
Benches with built-in storage
Why It Matters
Using vertical space helps keep everyday items organized without taking up valuable floor space.
The Takeaway
A more organized home doesn't always require a major renovation. Sometimes a few simple improvements can make a noticeable difference.
By creating a drop zone, organizing shoes, and making better use of wall space, homeowners can create entryways that feel cleaner, more functional, and easier to maintain.
Stay tuned for Part 2, where we'll look at organizing high-traffic areas throughout the home.
At Your Handyman Pros, we help homeowners throughout the Salt Lake Valley improve comfort, functionality, and everyday living. We are a licensed and insured B100 General Contractor and coordinate with individually licensed and insured specialty trades when needed.

Easy Ways to Make Your Home Feel More Comfortable - Part 3: Using Lighting to Create a Comfortable Space
Easy Ways to Make Your Home Feel More Comfortable - Part 3: Using Lighting to Create a Comfortable Space
In Part 1, we looked at eliminating drafts and hot spots. In Part 2, we focused on improving airflow. Today, we're wrapping up the series with another important part of home comfort: lighting.
Comfort isn't just about temperature. The way a room is lit can have a major impact on how welcoming and relaxing it feels.
1. Choose Warmer Light Bulbs
The color temperature of a light bulb affects the mood of a room.
What to Look For
Bulbs in the 2700K-3000K range
Warm, inviting light in living areas and bedrooms
Cooler lighting reserved for task-focused spaces when needed
Why It Matters
Warmer lighting helps create a more comfortable and relaxing atmosphere throughout the home.
2. Layer Your Lighting
Relying on a single overhead fixture often leaves rooms feeling flat and uninviting.
What to Look For
Ambient lighting for overall illumination
Task lighting where specific activities take place
Accent lighting to add depth and visual interest
Why It Matters
Layered lighting creates a more balanced environment and allows rooms to adapt to different activities throughout the day.
3. Update Outdated Fixtures
Lighting fixtures influence both appearance and comfort.
What to Look For
Fixtures that provide even light distribution
Updated styles that fit the space
Lighting that complements the room's function
Why It Matters
Replacing outdated fixtures can improve both the appearance and functionality of a room while making it feel more comfortable.
The Takeaway
Comfort is about more than temperature. The right lighting can help a home feel warmer, more welcoming, and more enjoyable to spend time in.
By choosing warmer bulbs, layering your lighting, and updating outdated fixtures, you can create spaces that feel more comfortable every day.
At Your Handyman Pros, we help homeowners throughout the Salt Lake Valley improve comfort, functionality, and everyday living. We are a licensed and insured B100 General Contractor and coordinate with individually licensed and insured specialty trades when needed.
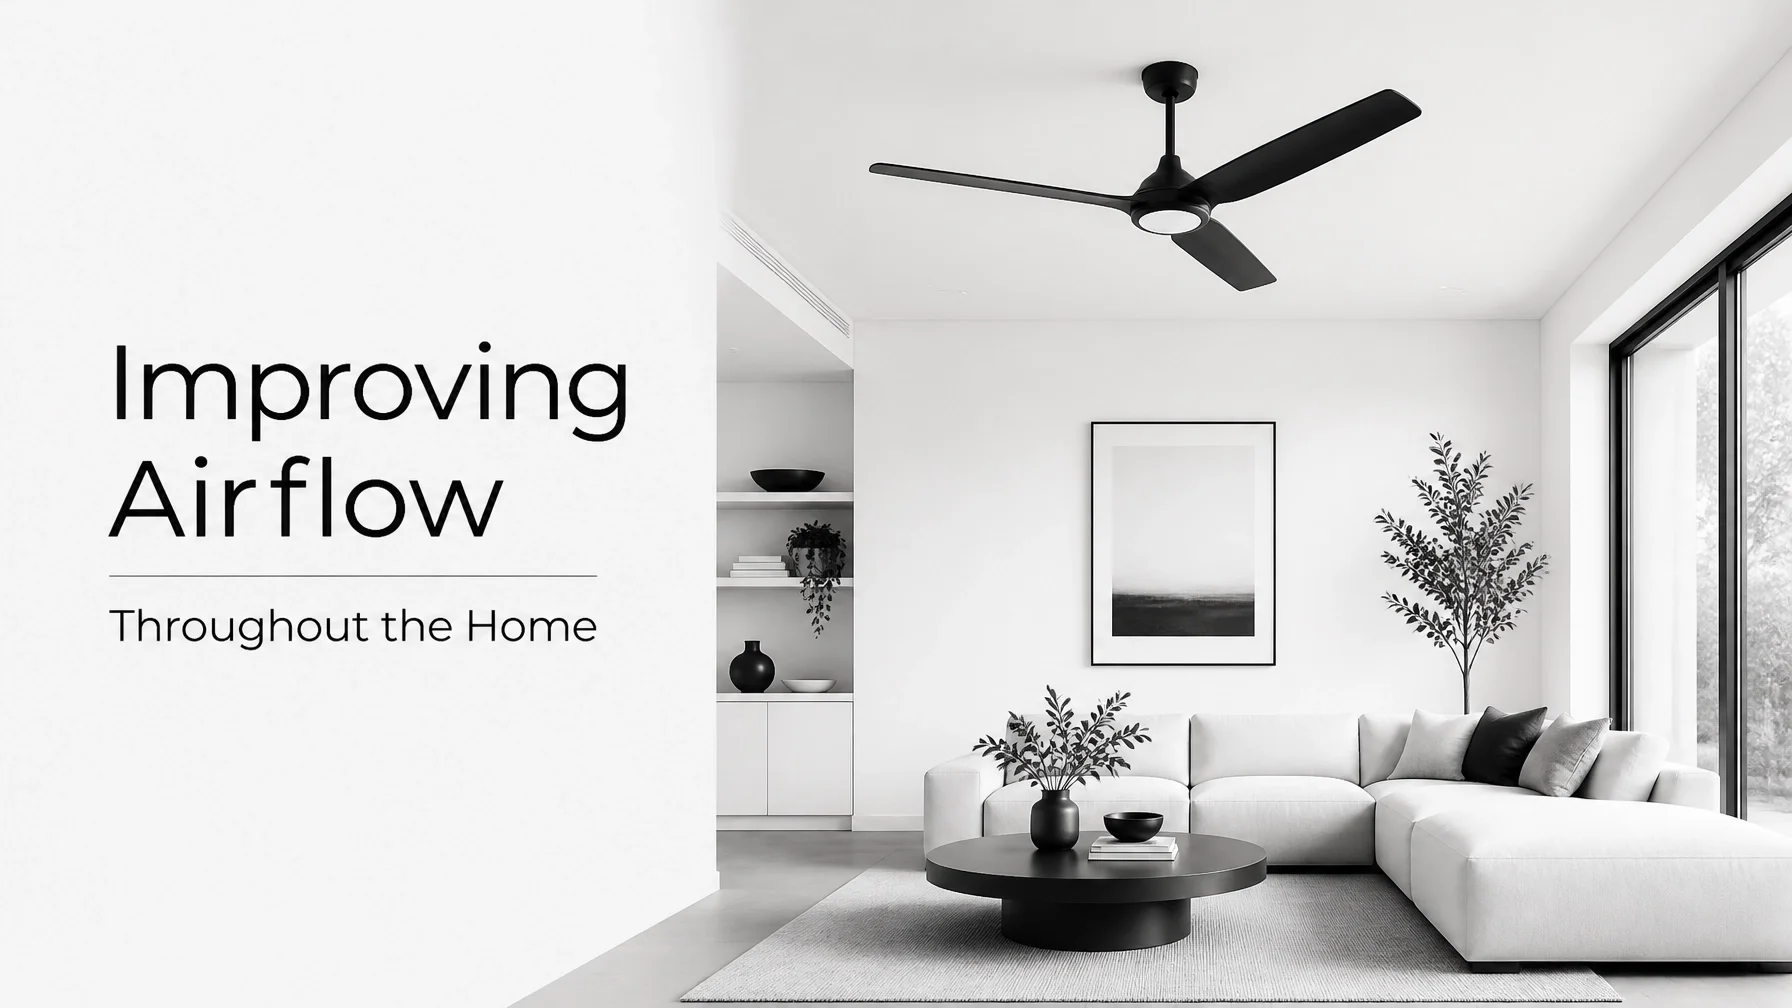
Easy Ways to Make Your Home Feel More Comfortable - Part 2: Improving Airflow Throughout the Home
Easy Ways to Make Your Home Feel More Comfortable - Part 2: Improving Airflow Throughout the Home
When people think about comfort, they often focus on the thermostat. But comfort isn't just about temperature. It's also about how air moves through your home.
Poor airflow can make rooms feel stuffy, create hot and cold spots, and make it harder for your HVAC system to do its job. Fortunately, a few simple adjustments can often improve comfort throughout the home.
This is Part 2 of our series, Easy Ways to Make Your Home Feel More Comfortable. Today, we're looking at ways to improve airflow.
1. Use Ceiling Fans Correctly
Ceiling fans can improve comfort year-round when used properly.
What to Look For
Counterclockwise rotation in summer
Clockwise rotation at low speed in winter
Properly functioning fan controls
Why It Matters
In summer, ceiling fans create a cooling breeze. In winter, they can help circulate warm air that naturally rises toward the ceiling.
2. Keep Vents and Returns Clear
Air needs room to move throughout the home.
What to Look For
Furniture blocking vents or returns
Rugs covering floor registers
Closed or obstructed vents
Why It Matters
Clear airflow pathways help conditioned air reach every room more effectively and can reduce uncomfortable hot and cold spots.
3. Replace Air Filters Regularly
Air filters play an important role in both airflow and indoor air quality.
What to Look For
Dirty or clogged filters
Reduced airflow from vents
Filters that haven't been checked recently
Why It Matters
Clean filters help your system operate more efficiently and support better airflow throughout the home.
The Takeaway
Comfort isn't just about setting the right temperature. It's about helping air move effectively throughout your home.
Simple steps like using ceiling fans correctly, keeping vents clear, and replacing air filters regularly can make a noticeable difference in everyday comfort.
Stay tuned for Part 3, where we'll look at how lighting can help make a home feel warmer, more welcoming, and more comfortable.
At Your Handyman Pros, we help homeowners throughout the Salt Lake Valley improve comfort, efficiency, and everyday functionality. We are a licensed and insured B100 General Contractor and coordinate with individually licensed and insured specialty trades when needed.

Easy Ways to Make Your Home Feel More Comfortable - Part 1: Eliminating Drafts and Hot Spots
Easy Ways to Make Your Home Feel More Comfortable - Part 1: Eliminating Drafts and Hot Spots
There is nothing quite like coming home and relaxing in a comfortable space. Unfortunately, that can be difficult when one room feels chilly while another always seems too warm.
Many homeowners assume these hot and cold spots mean they need a major HVAC upgrade. Often, the solution is much simpler. Small air leaks and insulation issues can have a surprising impact on comfort.
This is Part 1 of our series, Easy Ways to Make Your Home Feel More Comfortable. Today, we're looking at how eliminating drafts and air leaks can help create more consistent temperatures throughout your home.
1. Check Your Weatherstripping
Weatherstripping around doors and windows naturally wears out over time.
What to Look For
Drafts around doors and windows
Visible gaps around frames
Worn or damaged door sweeps
Why It Matters
Proper weatherstripping helps keep conditioned air inside and outdoor air outside, making rooms feel more comfortable year-round.
2. Seal Small Gaps and Cracks
Air leaks aren't limited to windows and doors. Small gaps around plumbing, electrical penetrations, and exterior walls can also affect comfort.
What to Look For
Gaps around pipes or utility penetrations
Cracks around trim and exterior openings
Areas where drafts are noticeable
Why It Matters
Sealing small openings can help reduce drafts and improve temperature consistency throughout the home.
3. Evaluate Insulation
Insulation plays a major role in maintaining comfortable indoor temperatures.
What to Look For
Rooms that are consistently warmer or cooler than others
Temperature differences between floors
Areas that seem difficult to heat or cool
Why It Matters
Proper insulation helps reduce temperature swings and improve comfort throughout the year.
The Takeaway
Comfort often starts with consistency. Small improvements such as replacing weatherstripping, sealing air leaks, and improving insulation can make a noticeable difference in how your home feels every day.
Stay tuned for Part 2, where we'll look at how better airflow can help create a more comfortable home.
At Your Handyman Pros, we help homeowners throughout the Salt Lake Valley improve comfort, efficiency, and everyday functionality. We are a licensed and insured B100 General Contractor and coordinate with individually licensed and insured specialty trades when needed.

Why Some Homes Feel Easier to Maintain (Part 3): Small Repairs Prevent Bigger Chores
Why Some Homes Feel Easier to Maintain (Part 3): Small Repairs Prevent Bigger Chores
Welcome back to Part 3 of our series, Why Some Homes Feel Easier to Maintain. In Part 1, we looked at smart storage. In Part 2, we covered durable finishes. Today, we're focusing on another reason some homes feel easier to maintain: staying ahead of small repairs.
Many maintenance headaches start as minor issues. Addressing them early helps keep your home comfortable, functional, and easier to care for.
1. Doors, Hardware, and Weatherstripping
Small issues with doors and hardware are easy to ignore, but they rarely improve on their own.
What to Look For
Doors that stick or rub
Loose handles or hinges
Worn weatherstripping
Drafts around doors and windows
Why It Matters
Minor adjustments and repairs can improve comfort, reduce wear, and keep doors and windows operating properly.
2. Maintaining Caulk and Sealants
Caulk helps protect kitchens, bathrooms, and windows from moisture.
What to Look For
Cracked or peeling caulk
Gaps around tubs, sinks, or windows
Areas that stay damp after use
Why It Matters
Replacing worn caulk is a simple maintenance task that can help protect surrounding materials from moisture-related damage.
3. Addressing Small Exterior Repairs
Utah's weather can be tough on exterior materials. Small issues on the outside of a home can become larger problems if left unattended.
What to Look For
Peeling paint
Small cracks in trim
Gaps around windows or doors
Minor exterior damage
Why It Matters
Routine inspections and timely repairs help maintain your home's appearance and can reduce the likelihood of larger repair projects later.
The Takeaway
The easiest homes to maintain aren't necessarily newer homes. They're homes where small issues are addressed before they become larger frustrations.
By staying on top of minor repairs, you can improve comfort, reduce maintenance headaches, and help your home continue performing at its best.
At Your Handyman Pros, we help homeowners throughout the Salt Lake Valley handle the everyday repairs that keep homes comfortable, functional, and well maintained. We are a licensed and insured B100 General Contractor and coordinate with individually licensed and insured specialty trades when needed.
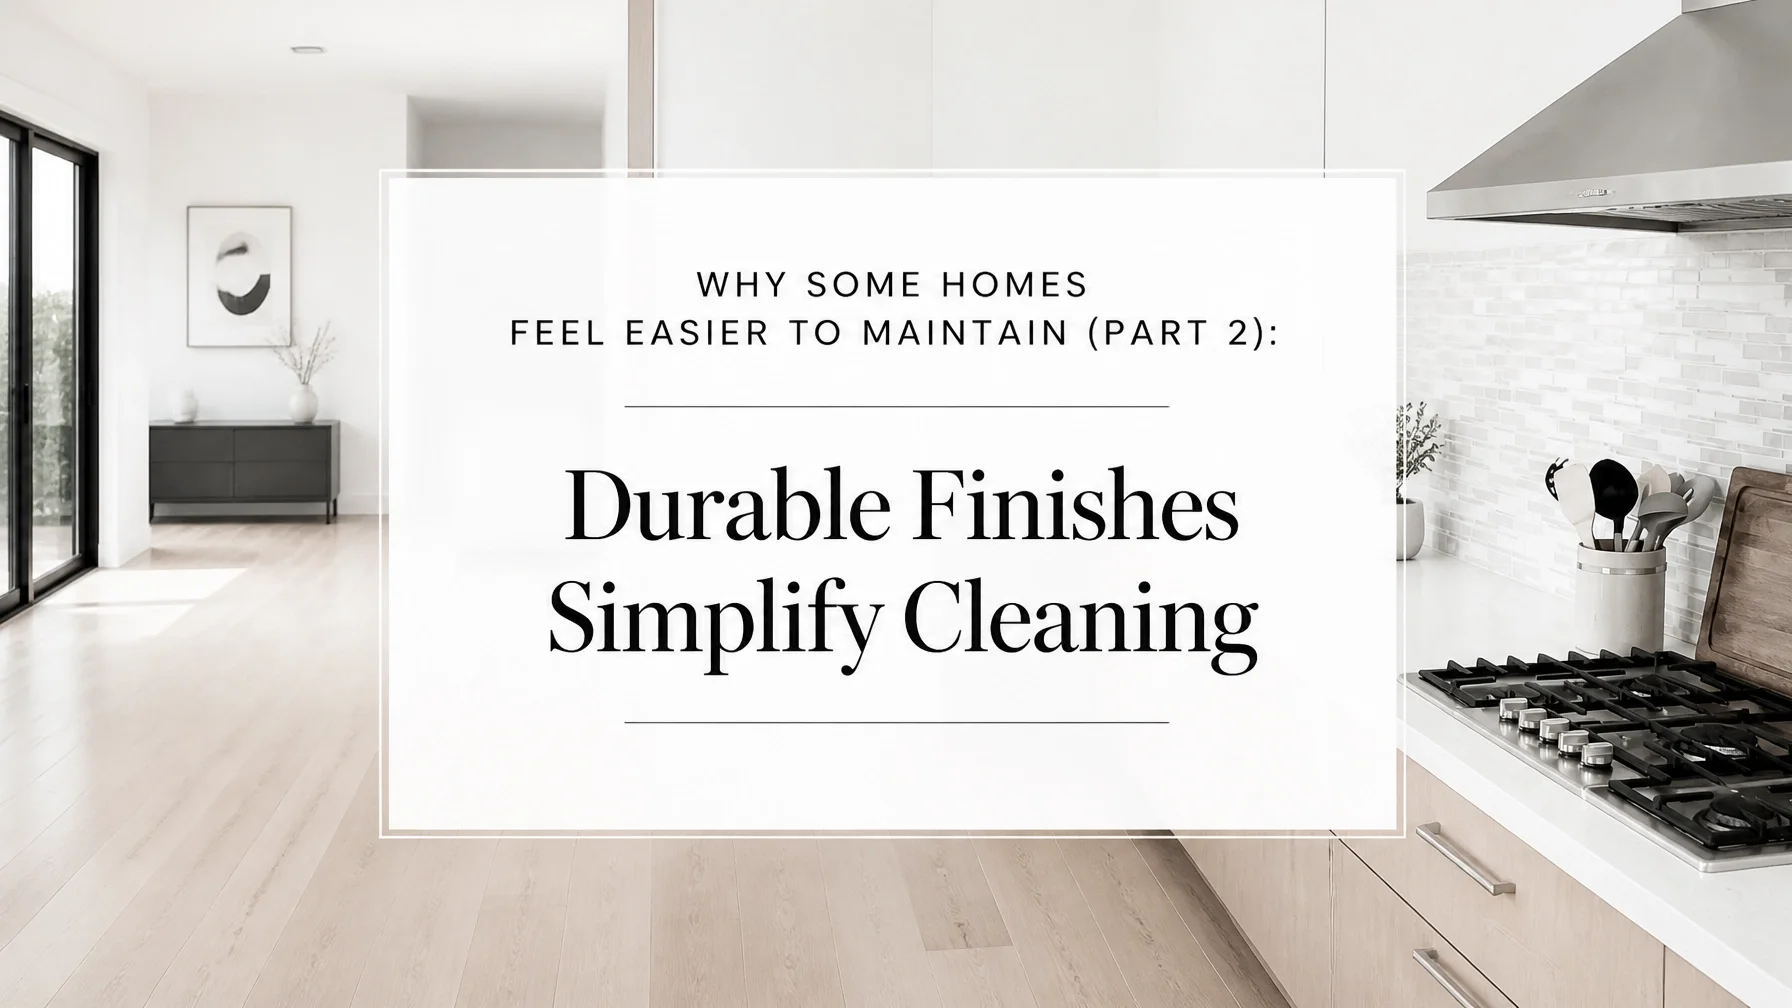
Why Some Homes Feel Easier to Maintain (Part 2): Durable Finishes Simplify Cleaning
Why Some Homes Feel Easier to Maintain (Part 2): Durable Finishes Simplify Cleaning
Last time, we looked at how smart storage helps reduce clutter. Today, we're focusing on another reason some homes feel easier to maintain: durable, low-maintenance finishes.
Even the most organized home gets dirty. The difference is that some materials are simply easier to clean and maintain than others.
1. Durable Flooring
Floors deal with daily foot traffic, pets, moisture, and everyday wear. Choosing the right flooring can make cleanup faster and reduce long-term maintenance.
What to Look For
Luxury vinyl plank (LVP)
Porcelain tile in moisture-prone areas
Durable flooring suited to your household
Why It Matters
Many modern flooring materials resist moisture, scratches, and stains, making them easier to keep clean throughout the year.
2. Washable Paint Finishes
Paint color gets most of the attention, but the finish matters just as much.
What to Look For
High-quality interior paint
Washable wall finishes
Durable trim and baseboard paint
Why It Matters
Walls and trim see constant wear. Durable finishes make it easier to clean fingerprints, scuffs, and everyday marks without frequent touch-ups.
3. Low-Maintenance Surfaces
Kitchens, bathrooms, and laundry rooms benefit from materials that can handle everyday use with minimal upkeep.
What to Look For
Durable countertop materials
Easy-to-clean backsplashes
Moisture-resistant finishes
Why It Matters
Low-maintenance surfaces help simplify cleanup and keep busy spaces looking their best with less effort.
Work Smarter, Not Harder
The easiest homes to maintain aren't necessarily the ones that stay spotless. They're the ones designed to make cleaning and upkeep simpler.
Choosing durable flooring, washable finishes, and low-maintenance surfaces can help reduce the time spent cleaning while keeping your home looking great for years to come.
Stay tuned for Part 3, where we'll look at how small repairs can prevent recurring maintenance headaches and make homeownership easier in the long run.
At Your Handyman Pros, we help homeowners throughout the Salt Lake Valley improve comfort, durability, and everyday functionality. We are a licensed and insured B100 General Contractor and coordinate with individually licensed and insured specialty trades when needed.
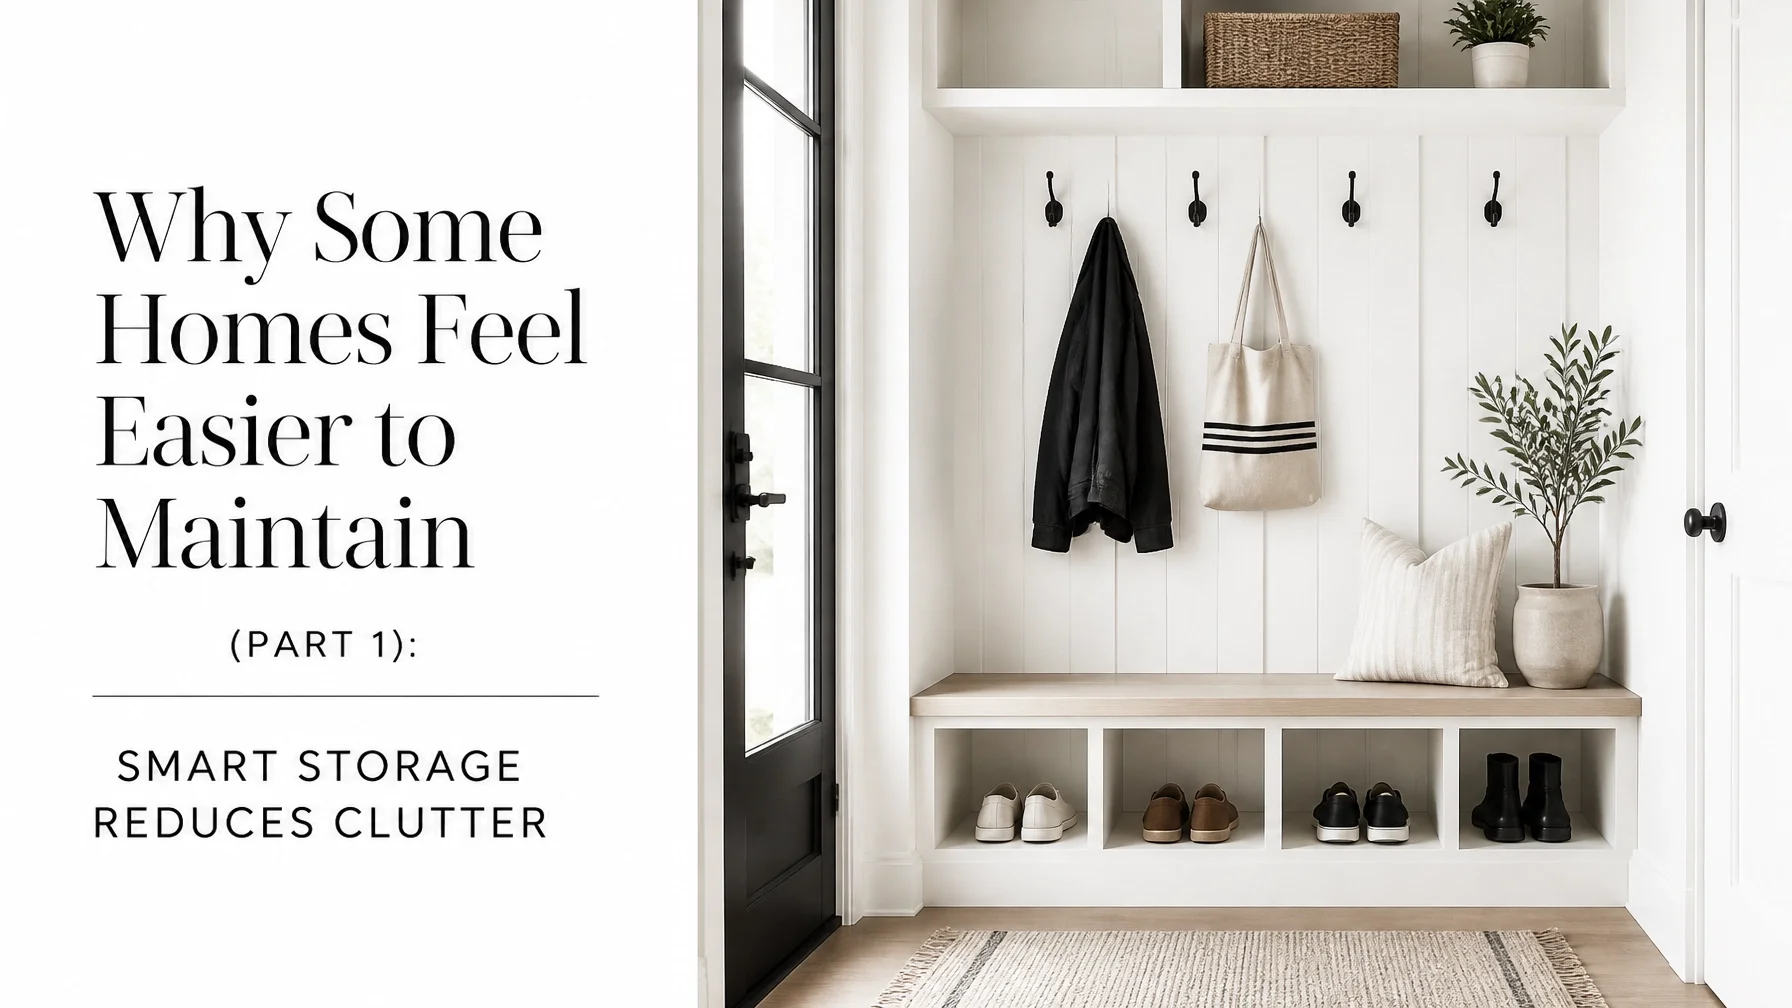
Why Some Homes Feel Easier to Maintain (Part 1): Smart Storage Reduces Clutter
Why Some Homes Feel Easier to Maintain (Part 1): Smart Storage Reduces Clutter
Have you ever wondered why some homes always seem clean and organized? Usually, it isn't because the owners spend more time cleaning. More often, it's because the home has better storage.
At Your Handyman Pros, we've found that the easiest homes to maintain aren't necessarily the newest or most expensive. They're the ones where everyday items have a logical place to go. When storage works well, clutter has less opportunity to build up.
This is Part 1 of our series, Why Some Homes Feel Easier to Maintain. Today, we're looking at how smart storage can make daily upkeep easier.
1. Entryway Drop Zones
The entryway is one of the busiest areas in any home. Without a place for shoes, coats, backpacks, and keys, those items quickly spread into nearby rooms.
What to Look For
Hooks for coats and bags
Shoe storage near the door
Benches with built-in storage
Individual cubbies for family members
Why It Matters
A well-organized entryway helps contain clutter before it reaches the rest of the house. It can also reduce dirt, moisture, and debris being tracked through the home.
2. Organized Garage Storage
For many homeowners, the garage becomes a catch-all storage space. When tools, seasonal items, and equipment are difficult to find, routine maintenance becomes more frustrating.
What to Look For
Wall-mounted storage systems
Overhead storage racks
Designated areas for tools and equipment
Clear floor space for easier cleaning
Why It Matters
When tools and supplies are easy to access, small maintenance tasks become easier to tackle. Organized garages also feel larger and more functional.
3. Built-In Organization
Thoughtful storage solutions often outperform temporary bins and containers because they are designed around how a space is actually used.
What to Look For
Pantry shelving that improves visibility
Laundry room organization systems
Efficient closet storage
Built-in shelves, drawers, or cabinets
Why It Matters
When everything has a designated place, cleanup becomes faster and everyday routines become easier.
Organization Makes Maintenance Easier
The easiest homes to maintain are often the most organized. Smart storage helps reduce clutter, simplify cleaning, and make everyday tasks feel less overwhelming.
By creating designated places for the items you use every day, you spend less time managing clutter and more time enjoying your home.
Stay tuned for Part 2, where we'll look at how durable finishes and material choices can help reduce cleaning and maintenance even further.
At Your Handyman Pros, we help homeowners throughout the Salt Lake Valley improve comfort, organization, and everyday functionality. We are a licensed and insured B100 General Contractor and coordinate with individually licensed and insured specialty trades when needed.
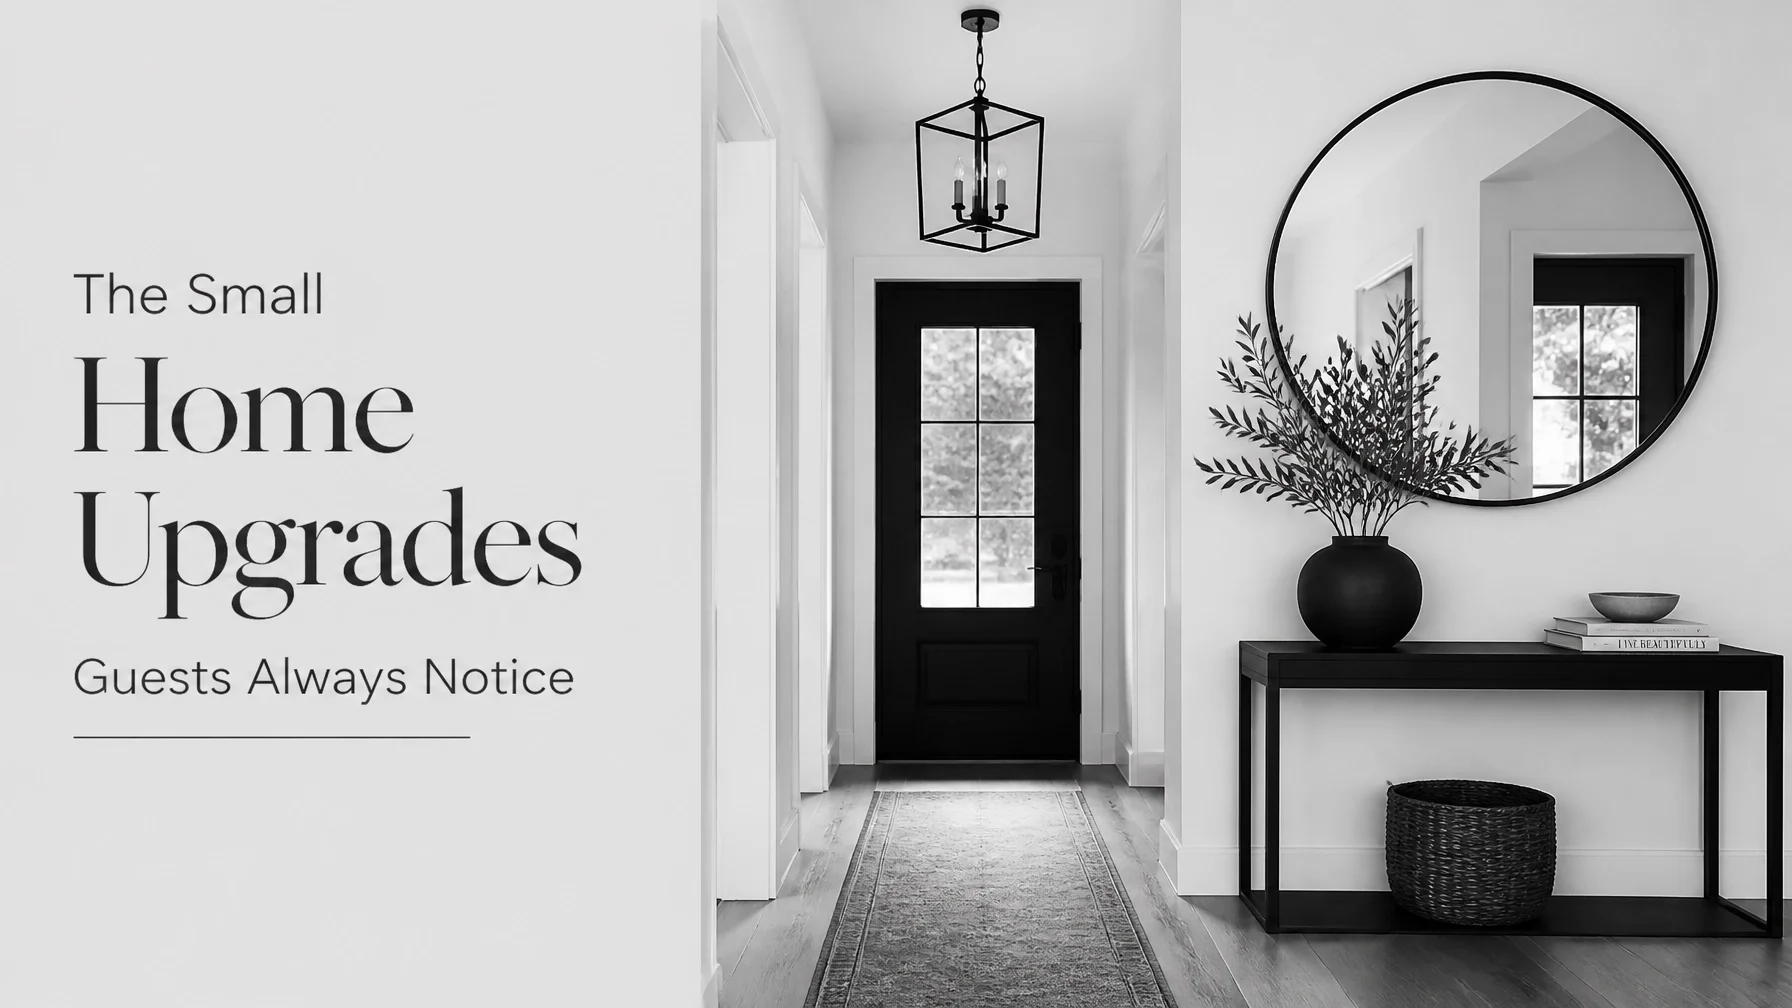
The Small Home Upgrades Guests Always Notice
The Small Home Upgrades Guests Always Notice
We've all had that moment right before guests arrive when we suddenly notice the little things we've been ignoring for months. A scuffed baseboard, a flickering light, or a cluttered entryway may not seem like a big deal, but those details can have a surprising impact on how a home feels.
The good news is that guests rarely notice the projects that cost the most. More often, they notice the spaces they walk through, the fixtures they interact with, and the overall feeling of the home.
If you're looking for quick ways to refresh your space, here are a few upgrades worth prioritizing.
1. Refresh the Entryway
Your entryway sets the tone for the rest of the home. A clean, organized entrance immediately creates a better first impression.
What to Focus On
Remove unnecessary clutter
Add a simple drop zone for keys and bags
Refresh worn paint on the front door or surrounding trim
Replace faded house numbers or worn hardware
Why It Matters
A welcoming entryway makes the entire home feel more cared for and inviting before guests even step inside.
2. Improve the Lighting
Lighting is one of the most noticeable design features in any home. Guests may not identify exactly what's different, but they notice when a space feels bright, warm, and comfortable.
What to Focus On
Replace outdated fixtures
Use consistent bulb color temperatures throughout the home
Add lamps or accent lighting where needed
Consider under-cabinet lighting in kitchens
Why It Matters
Layered lighting creates depth and helps rooms feel more comfortable and welcoming.
3. Update the Small Details
The little things often have the biggest impact. Hardware, trim, and caulk are details people interact with every day.
What to Focus On
Replace worn cabinet hardware
Tighten loose handles and hinges
Refresh cracked or stained caulk
Touch up scuffed trim and baseboards
Why It Matters
These small updates help rooms feel cleaner, newer, and better maintained.
4. Don't Forget the Walkway
The path leading to your front door is part of the overall experience.
What to Focus On
Repair uneven walkways
Remove weeds and debris
Keep pathways clean and well-defined
Make sure exterior lighting is working properly
Why It Matters
A clean, welcoming path helps create a positive first impression and improves everyday curb appeal.
Small Improvements, Big Results
Many homeowners assume they need a major renovation to make their home feel fresh again. In reality, a handful of small updates can dramatically improve how a space looks and feels.
A refreshed entryway, updated lighting, clean trim, and a welcoming path to the door can help a home feel more polished and inviting for both guests and the people who live there.
At Your Handyman Pros, we help homeowners throughout the Salt Lake Valley tackle the small projects that improve comfort, appearance, and everyday enjoyment. We are a licensed and insured B100 General Contractor and coordinate with individually licensed and insured specialty trades when needed.